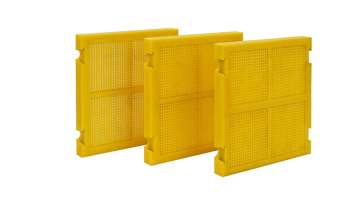
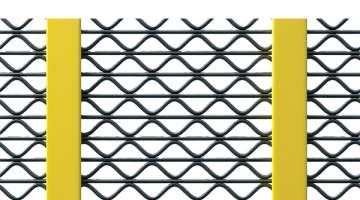
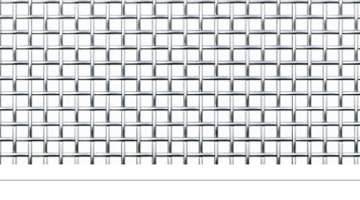
Installation and Fastening Methods for Specialized Woven Metal Screens for Trommel Screens
Many trommel screen operations in mining, aggregate recycling and ore washing sites find that even high‑quality Woven Metal Screens fail far earlier than expected, often tearing loose at the edges, sagging under continuous material load or developing uneven tension that causes localized premature wear, and these issues almost never stem from the screen itself, but from poorly executed installation and fastening work that does not match the unique working conditions of a rotating trommel drum. Unlike flat vibrating screen decks that only need uniform static tension across the panel, specialized Woven Metal Screens for trommel screens have to withstand constant cyclic bending, heavy cascading material impact and continuous rotational shear force, which demands a targeted fastening workflow that prioritizes even tension distribution and edge slip prevention. Following the correct installation and fastening procedures will easily double the average service life of these screens.
Pre‑installation Preparation and Panel Positioning
Before starting any installation work, the first critical step is to clean all residual material, rust and old fastening components from the trommel drum’s internal support beams, and double‑check that the new Woven Metal Screens panels are cut to the exact dimensions that match the drum’s inner diameter and the spacing between each support cross beam. Many experienced maintenance teams also lay down a thin layer of wear‑resistant rubber cushion between the steel support beam and the back of the Woven Metal Screens panel, which absorbs part of the sharp impact from falling heavy ore particles and prevents rigid metal‑to‑metal friction that would otherwise wear through the screen wire at the contact points in a very short period of time.
Trommel Geometry Decides the Attachment
Before talking bolts, you have to respect the cylinder. A trommel panel is a developable curved surface, and a flat-supplied Woven Wire Mesh wants to remember it was flat. Small-diameter trommels with steep curvature need pre-curved or segment-based panels; large-diameter drums can accept flat trapezoidal sections clamped to longitudinal bars because the local radius is gentle enough to bend the mesh without kinking the crimp. The attachment method flows from that geometry: end-ring clamping works when the panel terminates against a structural ring; longitudinal bar or angle supports work when the drum has internal stringers; bolt-through with backing washers works on thicker heavy-duty mesh but murders fine mesh if the hole pattern is sloppy; hook-and-channel systems work when the drum is built for them from day one. A specialized Woven Wire Mesh trommel section should be specified with drum diameter, length, rotation direction, slope, RPM, feed end vs discharge end, lifter position, and support-bar pitch—because a panel that seats beautifully on a 1.2 m scrubber trommel can rip itself apart on a 2.4 m scalping drum at higher peripheral speed.
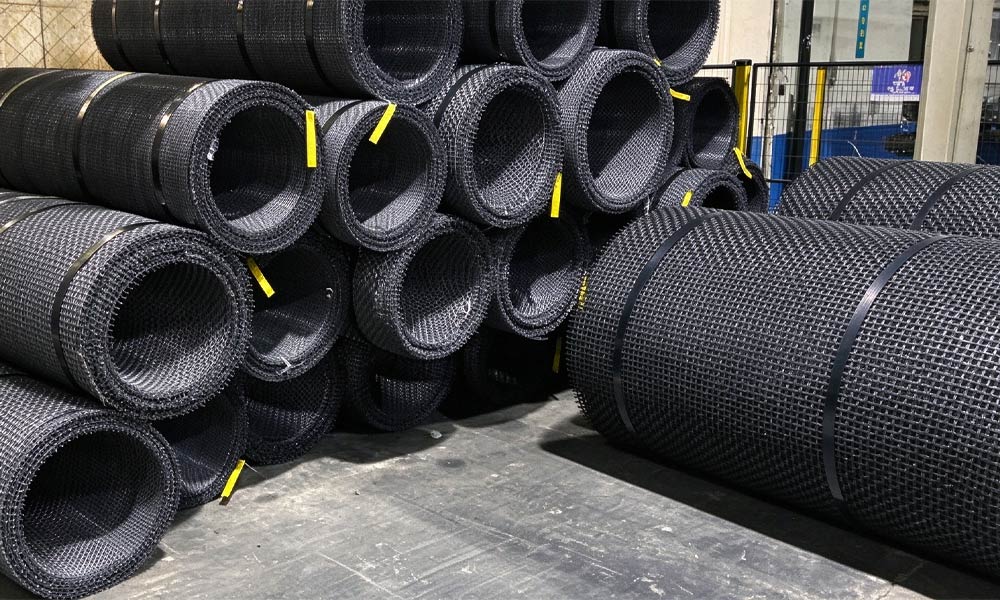
Clipping, Bolting, and the Edge That Usually Dies First
The edge is where trommel mesh lives or dies. A common field hack is to lay the Woven Wire Mesh over the drum, drill through the wire, and screw it down—fine for a weekend compost trommel, catastrophic for iron ore or demolition rubble. The wire at the hole loses its crimp continuity, the hole elongates, the edge flaps, and then the whole panel starts migrating. Better systems use folded hook edges tucked into a continuous channel, wedge clamps along the seam, or segmented clamp bars that grip the margin outside the working aperture zone. For coarse scalping mesh, bolt-through with large flat washers or serrated clamp shoes is acceptable if the bolt lands in a reinforced selvage and not in the open weave. For fine Woven Wire Mesh, you never bolt through the screen face—you clamp the bound edge, the hook strip, or a welded margin strip. The rule is simple: the rotating drum must grab the strong part of the panel, and the tumbling rock must never see a bolt head poking through the screening surface.
Seams, Overlap, and Avoiding the Spiral Leak
Trommels rarely use one giant cylinder of mesh; they use panels, and panels have seams. A poorly planned seam becomes a spiral leak path where fines bypass the cut and report to the oversize pile. On a specialized Woven Wire Mesh trommel install, the seam direction matters: longitudinal seams should sit on a support bar, circumferential seams should land on an end ring or a clamp band, and overlap direction should follow rotation so the trailing edge is not lifted by tumbling material. Some plants use a small overlap with a clamp shoe; others butt panels and cover the joint with a wear strip or a narrower bridging mesh. What never works is hoping “tight enough” is good enough—if the seam can lift 2 mm, wet clay will find it, peg it, and then the next rock rips the panel off the bar. A good install drawing shows seam location, clamp type, overlap dimension, and which way the drum turns relative to the lap, because a right-hand trommel and a left-hand trommel install the same mesh backwards if nobody checks.
Tension, Backing Support, and Run-In Checks
Trommel mesh does not need the violent tension of a linear deck, but it does need to be snug enough not to drum-beat. A specialized Woven Wire Mesh panel that is too loose bellies between supports, pegs in the sag zone, and fatigues at the clamp; too tight, and the crimp flattens, the aperture grows, and the cut point drifts richer or finer than the metallurgist wanted. Backing support is the unsung hero: backing bars, internal stringers, or a coarser structural grid behind the fine mesh let you run a delicate Woven Wire Mesh surface without every rock punching it. After fastening, the run-in check is not optional—rotate the empty drum, listen for flap or rattle, mark any panel that moves relative to its clamp, then run a low-load feed for 30–60 minutes and re-torque the clamps while warm. Trommel screens lie to you at standstill and tell the truth under load; the crew that re-checks tension after the first shift gets months of life the “fit and forget” crew never sees.
Targeted Fastening and Tensioning Execution
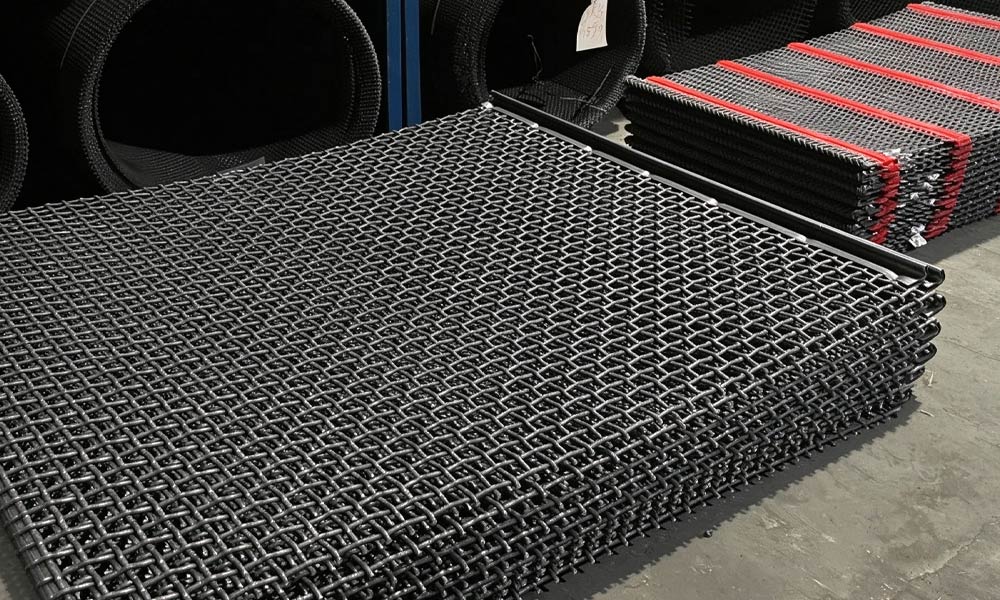
The most reliable fastening method for trommel‑mounted Woven Metal Screens uses a combination of wedge‑shaped polyurethane edge sealing strips and high‑tensile steel tension hooks, which locks the entire screen panel firmly into the pre‑welded mounting slots along the drum frame, rather than relying on simple bolted connections that can gradually loosen under continuous rotational vibration. Teams must tension every fastening point evenly in a symmetrical sequence across the entire panel, to ensure the Woven Metal Screens surface stays completely flat and free of local wrinkles or loose spots that would catch material and cause early tearing during trommel operation.
Proper installation and fastening for trommel‑specific Woven Metal Screens is one of the most overlooked but high‑impact maintenance practices that drastically reduces unplanned downtime and extends screen service life without extra investment in premium materials. If you need a step‑by‑step site‑specific installation guide that matches your exact trommel model and screen specification, our technical team can provide you with a full set of fastening drawings and on‑site operation tips tailored to your actual working conditions.