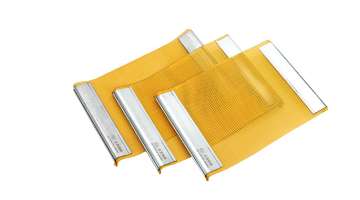
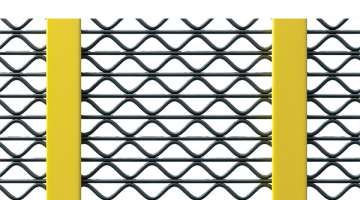
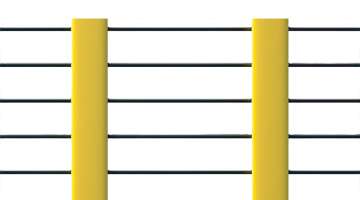
Hook-Type Woven Wire Mesh Installation Guide for Vibrating Screen Machines
If you’ve ever stood beside a vibrating screening deck mid-shift, watching your crew scramble to fix a poorly tensioned hook-type mesh that came loose and tore apart completely after just 8 hours of operation, you know exactly how much unnecessary downtime, wasted labor and lost production this avoidable installation mistake costs your operation every single month. Many plant maintenance supervisors I’ve worked alongside over the years shared that they used to treat hook mesh installation as a quick, trivial job that any crew member could knock out in 30 minutes, never realizing that small missteps during the process can cut the screen’s total service life by 70% or more. A systematic, step-by-step hook-type woven mesh install process eliminates all these preventable failures, helping your new screen deliver its full rated service life and classification efficiency without unexpected mid-shift breakdowns.
Pre-Installation Deck Inspection and Initial Placement
The first critical step of any proper hook-type woven mesh install is a full, detailed inspection and preparation of the entire screen deck, before you even unbox the new mesh panel. You start by completely powering off and locking out the vibrating screen’s main power supply, following your plant’s strict lockout-tagout safety protocols to eliminate any risk of accidental startup while your crew is working on the deck. Next, you remove all old mesh fragments, leftover tensioning bolts and accumulated caked-on material from the deck, then run your gloved hand across every single support rail and tensioning beam to check for sharp burrs, bent edges or worn spots that would abrade the underside of your new mesh. Any rough burrs get ground smooth with an angle grinder, any bent support rails get straightened or replaced, and you wipe the entire deck down with a clean rag to remove all leftover dust and debris, making sure the mounting surface is completely flat, clean and free of any hidden hazards that would damage your new screen. This seemingly tedious pre-installation check eliminates more than 30% of all premature mesh failure risks right from the start.
Gradual, Cross-Pattern Tensioning Process
The third most important step of a successful hook-type woven mesh install is executing a gradual, diagonal cross-pattern tensioning process, which is the single biggest difference between a screen that lasts 3 months and one that tears apart in 8 hours. You start by hand-threading all tensioning bolts into their designated nuts, turning each one just until it makes firm contact with the hook plate, with no preload applied yet. Then you use a calibrated torque wrench to tighten the bolts in a strict diagonal cross sequence, tightening each bolt to 30% of the manufacturer’s specified maximum torque first, then going back through the same cross pattern to bring every bolt up to 60% torque, before finally making a third pass to bring all bolts up to 100% of the exact rated torque value. You must never tighten one single bolt all the way to maximum torque before moving to the next, as this will pull the mesh completely off-center, create extreme localized over-tensioning that snaps wires immediately, and leave large slack zones across the rest of the panel that will repeatedly slap against the support rails under vibration, causing rapid fatigue tearing. This slow, staged tensioning process ensures every single point across the entire mesh panel has perfectly even, consistent tension, with no over-tightened or under-tightened spots.
Post-Installation Test Run and Final Verification
The final step of a complete hook-type woven mesh install is running a structured no-load test run and final verification process, to catch small issues before you feed any material onto the new screen. You remove all tools, leftover packaging materials and crew members from the deck, release the lockout-tagout and start the vibrating screen on no load, letting it run for 30 full minutes while your team observes its operation closely from a safe distance. You shut the machine down after the 30 minute test run, re-lock the power, and re-torque every single tensioning bolt back up to the manufacturer’s specified torque value, to top up the small amount of preload that was lost as the new mesh wires settled and stretched slightly during the initial vibration. You then inspect the entire mesh surface one more time to confirm there are no new wrinkles, slack spots or misaligned hooks, and only then is the screen ready to go back into full production operation. Following this final verification step eliminates almost all unexpected mid-shift mesh loosening failures that happen within the first 24 hours after a new installation.
Following this complete, systematic hook-type woven mesh install workflow will eliminate almost all preventable premature mesh failures, make your new screen deliver its full rated service life, and drastically reduce unplanned downtime caused by loose, torn or misaligned screening media.