Field Guide: Step-by-Step Hook-Type Square Woven Screen Installation for Hard Rock Mines
If you’ve ever finished a late-night emergency screen changeout at a remote hard rock mine, only to come back for your next shift 12 hours later and find the brand new panel torn completely loose from its tension hooks, you know exactly how much a rushed, poorly executed installation can waste hours of extra downtime, ruin expensive new screen media and derail your whole week’s production schedule. Many mine maintenance foremen I’ve worked alongside over the years shared that they used to treat hook screen installation as a quick, no-skill task that any crew member could knock out in 20 minutes, until they started tracking data and realized 60% of their new screens were failing at less than 40% of their advertised service life, all because of small avoidable installation mistakes. This practical, field-tested guide walks you through the exact step-by-step workflow that experienced mine maintenance crews use to get maximum performance out of every hook-type square woven screen install, skipping the generic manual talking points and focusing on the small, easy-to-miss details that make all the difference in heavy-duty mining conditions.
Pre-Installation Deck Audit and Wear Correction
The first non-negotiable step that most mining teams skip before any hook-type square woven screen install is a full, hands-on audit of every single part of the screen deck, long before you even bring the new panel out to the work area. You start by completely scraping away every last bit of caked-on ore, hardened rubber sealant and rust from all support bars, tension rails and deck edge frames, then run a precision straight edge across every single support bar to check for bent, worn or twisted sections that are more than 3mm out of perfect alignment. Even a single slightly twisted support bar will create a tiny localized high-pressure point under the new screen, which will wear a hole straight through the wire mesh in less than 48 hours of full continuous operation, no matter how carefully you do the rest of the hook-type square woven screen install process. This is also the ideal time to inspect all your tension bolts, spring assemblies and deck mounting bolts for corrosion, stripped threads or bent shafts, because even one damaged tension bolt will make it impossible to pull the panel evenly taut across the full width of the deck.
Panel Orientation and Zero-Wrinkle Placement
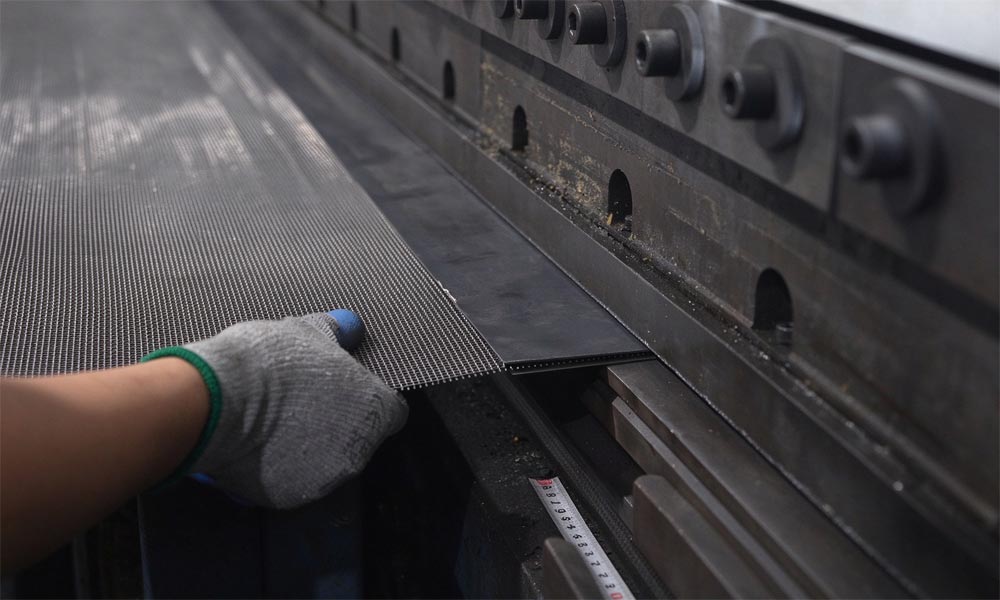
The second critical step that prevents 80% of common premature screen failures is careful, deliberate panel orientation and wrinkle-free placement, a detail that most crews rush through during a time-sensitive hook-type square woven screen install. You first confirm that the warp wires of the mesh run perfectly parallel to the direction of material flow, so the weft wires sit completely perpendicular across the top of every single deck support bar, with no wire running loose across the empty gap between two bars. Even a 10 degree misalignment of the mesh grid will leave large unsupported spans of wire that flex up and down thousands of times per minute under full vibration, creating rapid fatigue cracks that tear the panel apart long before it wears out. Once you have the grid perfectly aligned, you start at the feed end of the deck and gently hook the reinforced steel edge hooks onto the tension rail one by one, working your way slowly toward the discharge end, making sure you never twist, stretch or pull the panel sideways to force a hook into place. After you have both sides of the panel loosely hooked onto their respective tension rails, you walk across the entire deck surface and run your hand firmly over every section to smooth out any small hidden wrinkles, bunched fabric or twisted hooks, before you even start tightening any tension bolts.
Symmetric Gradual Tensioning Workflow
The third most important step that doubles the total usable service life of your new screen is a slow, symmetric tensioning process that you follow strictly for every single hook-type square woven screen install, no matter how pressed for time your crew is. You never tighten one side of the deck all the way first, because this will pull the entire panel off-center and create wildly uneven tension distribution that leaves one half of the screen far tighter than the other. Instead, you start at the exact center of the deck, turning the left side center tension bolt exactly one full rotation, then move directly across to the corresponding right side center tension bolt and turn it exactly one full rotation, working your way slowly outward toward both ends of the deck in a balanced back-and-forth pattern. After every three full rounds of symmetric tightening, you stop, shut off the lockout temporarily and press your full body weight down on the center of the screen panel to make sure it is pulling down evenly and sitting completely flush against every single support bar.
Post-Installation No-Load and Loaded Validation
The final step that catches all hidden small issues before they turn into catastrophic mid-shift failures is a full validation process that you complete after every hook-type square woven screen install, before you bring the plant up to full production tonnage. First, you do a full walkaround of the entire deck edge, running your hand along every single seal point between the screen hooks and the deck frame to make sure there are zero small gaps that could let fine ore leak through and contaminate your classified product. Then you start the vibrating screen on low speed with zero feed material, and let it run for 12 full minutes, watching the entire screen surface closely for any unusual ripples, localized loose spots or sharp high-pitched squealing noises that indicate a hook is rubbing against the frame. If you spot any unusual movement or noise, you shut the machine down immediately, release tension slightly and make small targeted adjustments to fix the issue, instead of ignoring it and ramping up to full speed. After this no-load test run completes with no issues, you start feeding ore onto the deck at 50% of your normal operating tonnage for 30 minutes, then gradually ramp up to 100% full production, and do one final full inspection after 2 hours of continuous full-load operation to double check that all tension points are still holding tight and the screen is performing exactly as expected.
By following this consistent, field-proven workflow for every hook-type square woven screen install your team completes, you will drastically extend the total service life of every new screen panel, cut your annual mining screening consumable costs by more than 40% and eliminate almost all unplanned screen-related downtime that derails your production targets.