PU Self-Cleaning Screen Installation Guide For Mining Screening
Installation is where a good screening panel either earns its service life or loses it before the first tonne passes, and a PU self-cleaning screen is no exception, because its flexible apertures depend on being mounted correctly to do the cleaning work they were designed for. A panel that is over tensioned, unevenly supported, or clamped with the wrong hardware will still look right on the deck but will fail early, blind in patches, or tear at the border long before its wear life is spent. The purpose of this guide is to walk through the installation sequence in the order it actually happens, from preparing the deck and inspecting the frame to tensioning, clamping, and the first run that confirms everything is right. Getting these steps correct is not difficult, but skipping any of them is an expensive way to waste a panel that was specified well.
Preparing The Deck And Frame Before Fitting
Preparation is the step most often rushed, yet a PU Self-Cleaning Screen can only sit correctly if the frame beneath it is sound and clean. The deck frame should be inspected for cracks, worn support rails, loose fixings, and any distortion that would prevent the panel from seating flat, because a panel resting on an uneven surface will flex unevenly and wear in the wrong places. Support rails and rubber buffers should be checked for wear and replaced where they are flattened or perished, since these components carry the panel and any deficiency shows up as movement at the clamps. The frame should be cleaned of compacted fines and old screen residue so that the new panel seats on metal rather than on debris, and the clamping hardware should be laid out and inspected before work begins. A few minutes spent on the frame saves hours later, because most installation problems that appear at start-up were actually frame problems that were never addressed.
Positioning And Seating The Panel Correctly
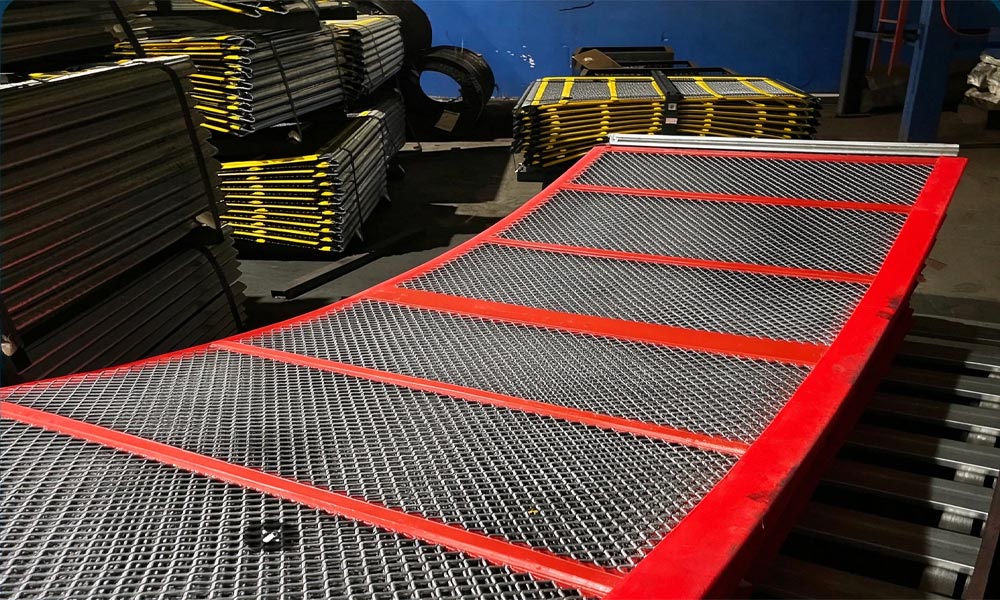
Positioning a PU Self-Cleaning Screen is straightforward when the panel is handled with care and the deck is marked before fitting. The panel should be lifted rather than dragged into place, because dragging can damage the polyurethane edge before it is ever clamped, and it should be oriented so that any tensioning direction marked by the manufacturer aligns with the deck's tensioning system. The panel should be centred on the frame so that the clamping zones at each end have equal material to grip, since an off-centre panel will be tensioned unevenly and will flex differently across its width. The edges should be checked for correct seating in the clamp pockets before any tension is applied, and the panel should be allowed to settle into position rather than forced, because a panel that has to be forced is a panel that is not sitting correctly. Care at this stage is what allows the tensioning step to do its job properly.
Tensioning And Clamping Without Overloading The Edge
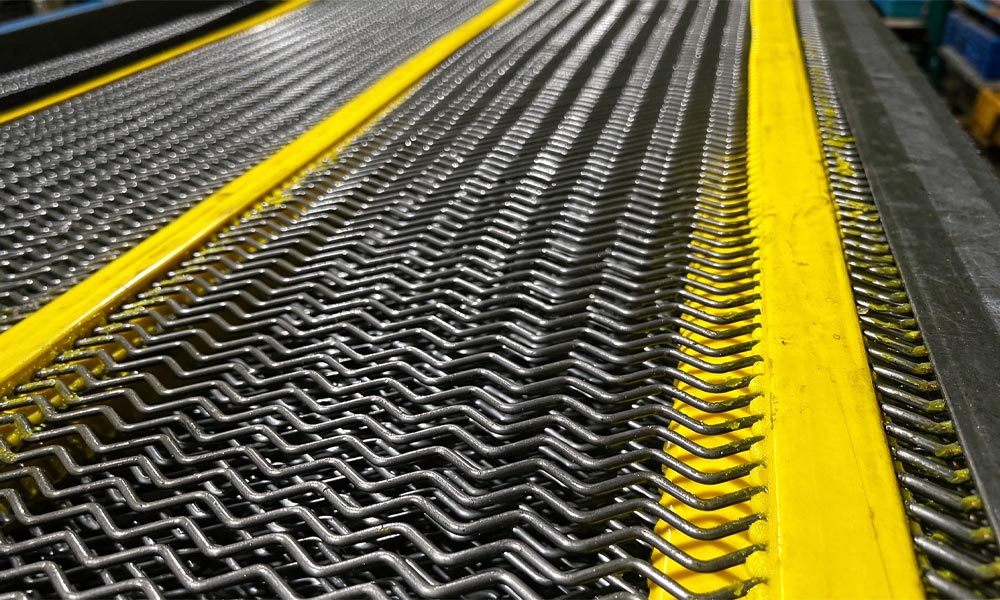
Tensioning is the step where a PU Self-Cleaning Screen is most easily damaged, because the instinct to tighten until it feels firm is exactly wrong for a flexible panel. Tension should follow the manufacturer's specification and be applied evenly across the clamping zone, using the correct hardware and the recommended sequence so that the load is distributed rather than concentrated at one point. Over tensioning is the common error, and it defeats the purpose of the polyurethane edge by concentrating load at the border and reducing the flexing that provides the cleaning action, so a panel that is too tight will blind more readily and fail sooner. Clamping hardware should be checked for correct engagement and tightened to the specified torque rather than to feel, and the panel should be inspected after tensioning to confirm that the edges are seated and the surface is even. Tensioning is not a step to be hurried, because it sets the panel's behaviour for its entire life.
The First Run And What To Check Afterwards
The first run after installation is the confirmation step, and a PU Self-Cleaning Screen should be observed closely during it rather than simply left to work. The deck should be started without feed first so that the panel can be watched for movement, rattling, or any sign that it is not seated correctly, and any anomaly should be corrected before material is introduced. Feed should then be applied gradually and spread across the full width, and the deck should be watched for even material flow, correct bed depth, and any section where material is building rather than passing. After the run, the panel should be inspected for correct seating, clamp condition, and any sign of movement at the edges, and the findings should be recorded so that the baseline is known for future comparisons. A careful first run is what turns a correct installation into a reliable one.
A PU self-cleaning screen performs as designed only when it is installed as designed, which means a sound and clean frame, careful positioning, tensioning to specification rather than to feel, and a first run that is watched rather than assumed. Each step is simple on its own, but they depend on each other, and a panel that is fitted correctly from the start will clean, wear, and last the way it was specified to. Installation is the one part of a panel's life that is entirely within the plant's control, and treating it with the same care as the specification is the surest way to get full value from a self-cleaning deck.