Polyurethane Cross Tensioned Screen Panels: Step-by-Step Installation Guide
If you’ve ever spent hours installing new screen panels, only to start the deck up for the first time and see a panel tear loose at the tension hook after 20 minutes of operation, or notice uneven sagging across the deck that creates blind spots and ruins your fine screening efficiency, you know exactly how much a single rushed or misaligned installation step can waste your new panels and force unplanned downtime that derails your whole shift’s production plan. After years of chatting with maintenance leads across fine mineral processing sites, aggregate quarries and coal washing plants across northern China, nearly every single one shared that they used to rush through panel installation to save time, until they learned that following a structured step-by-step process doubles the total service life of every new set of panels they install. This no-fluff field-tested installation guide breaks down the proven, easy-to-follow steps to mount your Polyurethane Cross Tensioned Screen Panels correctly, no empty technical jargon, just insights pulled straight from hundreds of real on-site installation experiences.
Full Deck Pre-Cleaning and Rail Inspection Before Any Panel Mounting
The first most critical pre-installation step that almost every maintenance team skips to save time is doing a full 15-minute deep clean and inspection of every single support rail on your vibrating deck before you even unbox your new Polyurethane Cross Tensioned Screen Panels. You need to scrape off all caked-on old fine ore, rust and leftover PU debris from the previous panels, then run a straight edge along every rail to check for burrs, bent sections, loose bolts or uneven height differences that are more than 2mm across the full length of the deck. Even one tiny bent rail or sharp burr will rub against the bottom of your new panel under high-frequency vibration, creating a concentrated stress point that tears a hole through the PU material in less than a week. Multiple quarry maintenance teams shared that this simple pre-installation check eliminated more than 80% of the premature panel tear-out failures they used to deal with after every new panel swap.
Line Up Panel End Hooks Before Tightening Anything
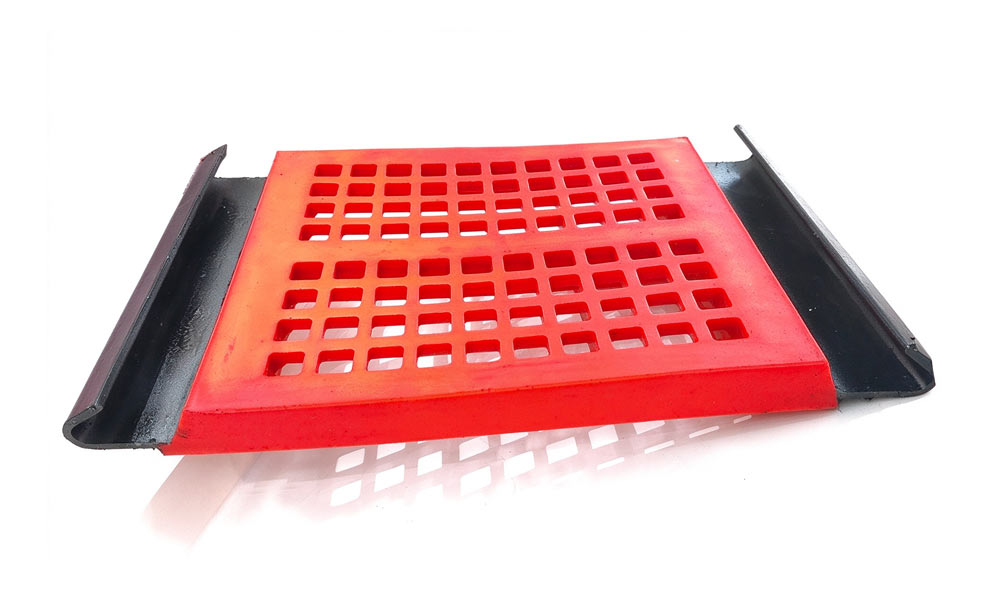
Don’t jump straight into tightening the tension bolts on new Polyurethane Cross Tensioned Screen Panels. Instead, lay each panel loosely across the deck first. Take your time—make sure every end hook drops fully into its rail slot. Skipping this step or rushing to tighten the bolts usually leads to the panel getting pulled off-center. It bends the hooks, creates odd tension spots, and makes part of the panel way too tight, while other sections stay loose and saggy. Those tight spots wear out fast—they tear after a while, especially in spots where flexing happens the most. Meanwhile, the loose parts just catch fine materials and blind up quickly. So, before you ever pick up a wrench, nudge each panel side to side until every hook sits deep in its slot. Nothing should be hanging halfway off the edge. When teams started taking this extra step, they saw hook-related panel failures drop by more than 70% almost immediately.
Symmetric Cross-Tensioning to 80% of Rated Tension First
Once you’re sure all the end hooks are lined up, move on to tightening the bolts. Don’t just crank each one to max tension right away. The right way is to tighten all bolts in a crisscross pattern—just a little at a time, working your way from the center out toward each end. For the first pass, only bring everything up to around 80% of the rated tension. If you rush and torque one end down first, you pull the whole panel off balance. That uneven stretch leaves built-in wrinkles or stress points in the polyurethane; after a few days of vibration, those little flaws tend to turn into tears.By tightening each bolt a quarter turn at a time, evenly and symmetrically, the entire Polyurethane Cross Tensioned Screen panel stretches out smoothly. You avoid trapped wrinkles, uneven stress, and all those premature failure headaches. This simple crisscross method is key to a clean install and reliable, longer-lasting panels.Multiple mineral processing maintenance teams shared that this symmetric tensioning step extended their average panel service life by nearly 40%.
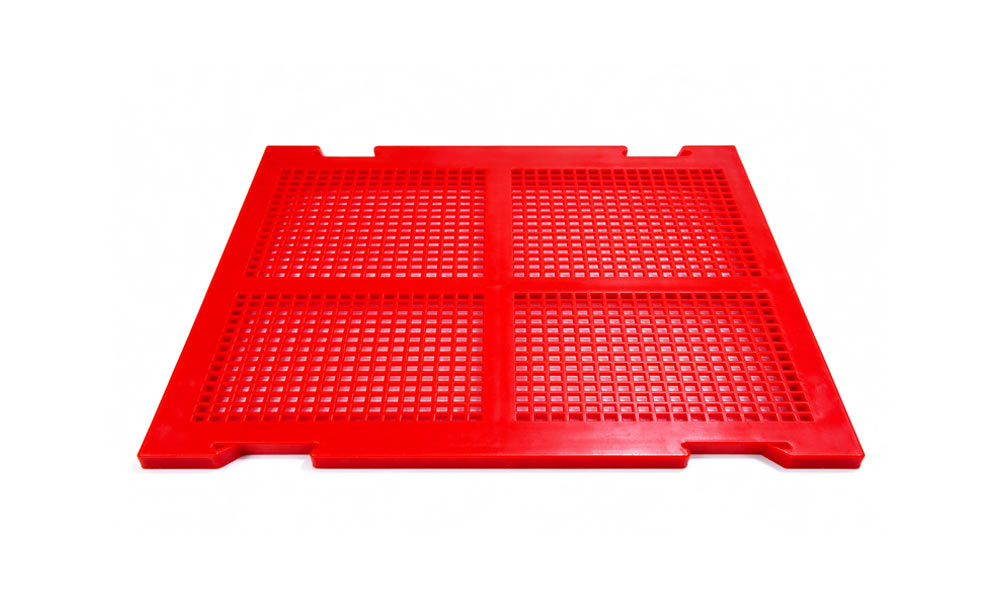
Final Full Deck Check and 10-Minute No-Load Test Run
The final installation step that catches hidden small issues before they turn into big expensive failures is doing a full walkaround check of every single panel edge, hook and tension bolt, then running the deck for a 10-minute no-load test run before you start feeding any material onto your newly installed Polyurethane Cross Tensioned Screen Panels. During the no-load test, you stand on both sides of the deck to watch for any panels that are vibrating unevenly, making strange rattling noises, or sagging in one small spot, which are clear signs of uneven tension or a hook that slipped out of its slot. Catching these small issues during the test run takes 10 minutes of extra work, and lets you retighten or readjust the panels before you dump tons of abrasive sharp ore onto the deck, which would destroy a misaligned panel in hours. Multiple aggregate quarries shared that this final no-load check stopped almost all unexpected mid-shift panel failures right after installation.
By following this structured four-step installation process, you can make sure every new set of panels is mounted with perfectly even tension, no hidden stress points, and zero misalignment issues, drastically extending panel service life, cutting unplanned maintenance downtime, and locking in consistent fine screening performance from day one.