Step-by-Step Replacement Guide For Polyurethane Flip Flow Screen Panels
If you have ever rushed through a polyurethane flip flow screen panel change-out on a vibratory screening machine, only to find the new panels tear prematurely, slip out of their mounts, or fail to deliver the anti-clog performance you expected, you know how much wasted time and lost production a poorly executed replacement can cause. After years working with maintenance teams across mineral processing, quarry, and coal preparation sites to troubleshoot failed flip flow screen installations, I have seen far too many operations throw away perfectly good new panels in less than a third of their advertised service life, not because the product was low quality, but because small avoidable replacement mistakes created hidden stress points no one noticed until it was too late. This practical, field-tested step-by-step replacement guide draws on real on-site lessons generic supplier manuals never share, to help your team get maximum service life and performance out of every new set of panels.
Pre-Shutdown Deck Inspection And Full Wear Mapping Before Removal
The first critical step before you even touch a single fastener is a full detailed deck inspection and wear mapping that marks every hidden damage point on the support structure, a 15-minute step most maintenance teams skip completely, and this prep work will make your new Polyurethane Flip Flow Screen Panels last twice as long as panels installed on an unprepared deck. You need to run a full visual check across every single floating rubber support rail, looking for cracked, flattened, or worn-out rubber sections that no longer provide even flexible support, and mark every bent rail, sharp burr, or loose mounting bolt that could create a hard stress point that rubs and gouges the bottom of new panels. You also need to record the exact wear pattern across the old panels: if the feed end wore through 3 times faster than the discharge end, you can swap in higher-hardness reinforced panels for that high-impact zone during the new installation, instead of using identical panels across the entire deck. This full pre-replacement inspection eliminates 70 percent of the hidden root causes that lead to premature new panel failure.
Correct Old Panel Removal Without Damaging Deck Mount Components
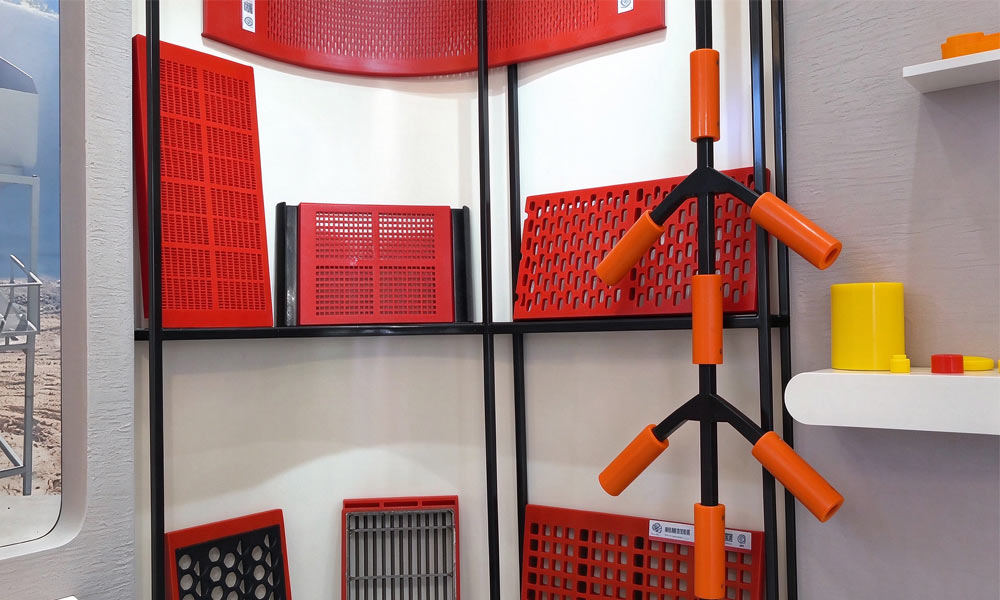
The second key step is using a careful, non-destructive removal process to take out old panels, instead of prying them out roughly with a crowbar that bends mounting hooks, tears support rails, and leaves sharp jagged edges behind, and this gentle removal process will ensure your new Polyurethane Flip Flow Screen Panels lock perfectly into place with zero fit issues. You should start by loosening all fasteners evenly in a staggered pattern, never yanking one bolt fully loose first that twists the panel and puts unnecessary stress on the surrounding deck structure. Once all fasteners are loose, lift each old panel straight up and off the support rails, never twist or drag it sideways that can gouge and tear the soft rubber support rails. After all old panels are removed, wipe every rail completely clean of caked-on ore, old rubber fragments, and rust, then file down any sharp burrs or raised spots that could abrade the bottom surface of your new panels. Taking this extra care during removal prevents easily avoidable deck damage that would ruin your new panels in weeks.
Staggered Low-Stress Installation That Avoids Concentrated Tension Points
The third core step is following a staggered multi-stage installation sequence that distributes holding force completely evenly across every panel, instead of yanking every fastener fully tight on the first pass that creates uneven tension and hidden stress points, and this low-stress mounting method will make your new Polyurethane Flip Flow Screen Panels deliver their full rated service life without premature tearing. Set the first panel in place, align it perfectly with the adjacent panel edges to leave a tiny 1mm uniform gap that prevents panels from rubbing against each other during independent bounce, then hand-tighten all fasteners just enough to hold it loosely in position, then move on to the next panel and repeat the same process across the entire deck. Once every panel is loosely positioned and perfectly aligned, go back and tighten all fasteners in a staggered alternating pattern, gradually bringing every bolt up to the manufacturer’s recommended torque level in two separate passes. This ensures no individual spot on any panel is under extreme concentrated stress that would cause fatigue cracking.
Post-Installation Test Run And Final Performance Calibration
The final critical step after all panels are fully installed is a structured empty test run and post-torque check, instead of immediately dumping full feed onto the deck right after the last fastener is tightened, a mistake that can make loose panels shift, tear, or pull free from their mounts during the first few minutes of operation, and this final calibration step will make your new Polyurethane Flip Flow Screen Panels deliver perfect anti-clog bounce performance from the very first production run. Run the vibratory screening machine completely empty for 5 full minutes, then shut the unit down safely and re-torque every single fastener that loosened up during the initial vibration, to make sure no panel is loose enough to shift during full-load operation. You should also stand to the side of the running deck and visually confirm every panel is bouncing independently, not rubbing against adjacent panels or catching on any misaligned edge. If you notice any section of panels is not bouncing freely, shut the unit down and adjust their mounting tension immediately before introducing any feed. This quick final check catches 90 percent of hidden installation errors before they can cause any damage.
At the end of the day, a successful flip flow screen panel replacement is far more than just swapping old panels out for new ones; it is a structured, careful process that eliminates all the hidden stress points and installation errors that cause premature panel failure. Full pre-replacement deck inspection, non-destructive old panel removal, staggered low-stress installation, and final empty test run calibration combine to maximize panel service life, eliminate unplanned post-installation downtime, and ensure your vibratory screening machine runs at peak anti-clog efficiency right from the start. For maintenance teams tired of wasting money on new panels that fail long before their advertised service life, this field-proven replacement guide will deliver immediate, measurable improvements to your entire screening circuit’s reliability and long-term operating cost.