Modular Polyurethane Vibrating Screen: Step-by-Step Installation Guide
If you’ve ever spent half a shift installing new modular PU panels, only to start the deck up for the first time and hear strange rattling noises, then find three panels popped loose from their rails after 20 minutes of full-load granite crushing, you know exactly how much a rushed misaligned installation can waste new panels and force unplanned downtime that derails your whole quarry’s daily production target. After years of chatting with quarry maintenance leads across northern China, nearly every single one shared that they used to rush through panel installation in 45 minutes flat to save time, until they learned a structured step-by-step process that cut post-installation panel failure rates to almost zero. This no-fluff field-tested installation guide breaks down the proven, easy-to-follow steps to mount your new Modular Polyurethane Vibrating Screen correctly, no empty technical jargon, just insights pulled straight from hundreds of real quarry installation experiences.
Full Deck Rail Deep Clean and Flatness Inspection Pre-Installation
The first most critical pre-installation step that almost every quarry maintenance team skips to save time is doing a full 15-minute deep clean and flatness check on every single support rail of your Modular Polyurethane Vibrating Screen before you even unbox the new panels. You need to scrape off all caked-on granite fines, rust, old rubber seal debris and leftover broken PU fragments from previous panels, then run a 1-meter straight edge along every rail to check for burrs, bent sections, loose mounting bolts or height differences larger than 1.5mm across the full deck width. Even one tiny bent rail or sharp burr will rub against the bottom of the new PU panel under high-frequency heavy-load vibration, creating a concentrated stress point that tears a hole through the material in less than a week. Multiple large granite quarries shared that this simple pre-installation check eliminated more than 80% of premature panel tear-out failures they used to deal with right after every new panel swap.
Align Base Sealing Strip Before Locking Any Panels to Deck
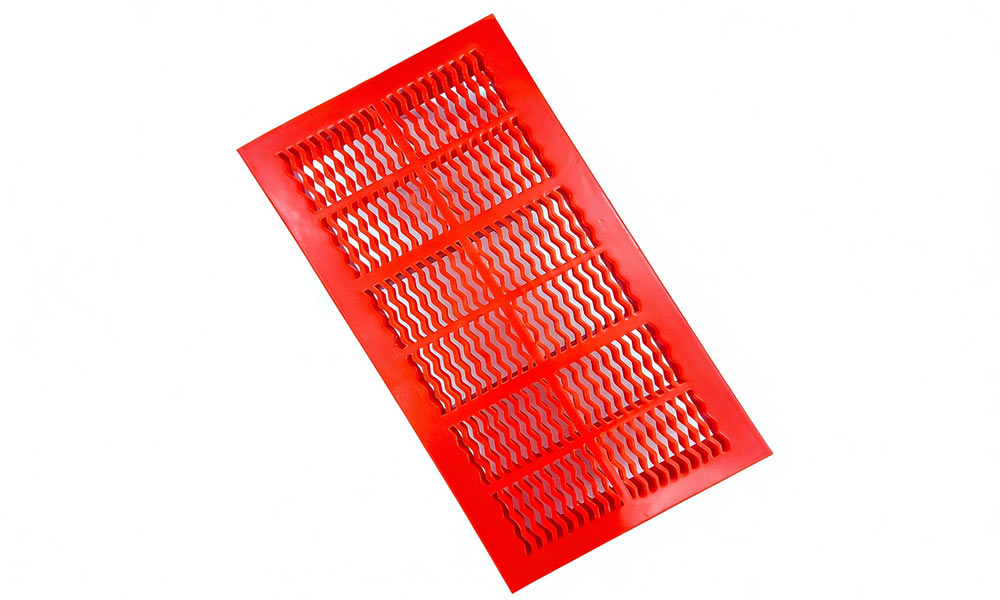
The second easy-to-miss step that prevents fine ore leakage between panel gaps is laying a full continuous custom PU sealing strip along every rail groove before you seat the first panel on your Modular Polyurethane Vibrating Screen. Many teams skip this sealing step completely, leaving 1-2mm tiny gaps between adjacent modular panels that widen slowly under continuous heavy vibration, letting sharp fine granite particles slip through and contaminate your final oversize product, or even leak down into the under-deck discharge chute to create uneven material flow. The soft elastic sealing strip compresses slightly when you lock the panels down, completely filling every tiny gap between panels and rails, so no fine particles can ever slip through unintended openings. Multiple manufactured sand quarries shared that after adding this simple sealing step, fine particle leakage between panel gaps completely disappeared, and their final product size consistency improved drastically.
Symmetric Panel Locking From Center Out to Eliminate Uneven Stress
The third core installation step that guarantees all panels sit completely flush and locked in tight is installing every unit of your Modular Polyurethane Vibrating Screen in a symmetric pattern starting from the exact center of the deck, working your way steadily out toward both side edges, instead of starting installation from one side of the deck all the way across. If you start locking panels from one far edge and work your way across to the other side, you will slowly push the whole panel layout off balance, creating hidden cumulative stress that makes panels sit slightly tilted, with some units not fully clipped into their rail locks, so they can pop loose under heavy vibration. Working from the center outward lets you keep the whole layout perfectly aligned, every panel fully seated, and no hidden uneven stress points anywhere across the deck. Multiple hard rock quarries shared that after switching to this center-out installation pattern, panels popping loose during operation almost never happened anymore.
15-Minute No-Load and Half-Load Test Run Before Full Production
The final installation step that catches hidden small issues before they turn into expensive failures is running a 10-minute no-load test run followed by a 5-minute half-load test run on your newly installed Modular Polyurethane Vibrating Screen before you open the full feed gate to dump maximum tonnage onto the deck. During the no-load run, you walk around both sides of the deck to listen for rattling, check for any panels that shift or lift slightly, and retighten any loose rail locks you find. During the half-load run, you feed a small steady stream of ore onto the deck, watch for uneven material flow or panels that sag under partial load, and adjust any misaligned units before you ramp up to full production. Multiple large aggregate quarries shared that this 15-minute test run step caught 100% of hidden installation errors that would have caused catastrophic panel failure within an hour of full-load operation.

Stick to this four-step process for installing each modular PU panel, and you’ll get a snug fit every time—no annoying gaps for fine material to slip through, no uneven spots that wear out too soon. That means your Modular Polyurethane Vibrating Screen lasts way longer, and you won’t have to deal with surprise maintenance or unexpected downtime later.