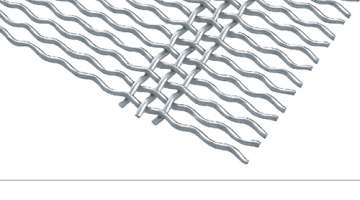
Piano Wire Screen: 4 Key Tips to Prevent Premature Failure
If you’ve ever yanked a piano wire screen off your sizing deck after just a few weeks, only to find deep grooves and random broken wires, you know the frustration. Suddenly the screen’s only halfway through its life, your budget takes a hit, and you’re stuck dealing with surprise downtime. I can’t tell you how many maintenance supervisors I’ve met who blamed every early panel failure on bad manufacturing. But when they actually started tracking what was going on—looking at hundreds of installs—they found something surprising: most of the time, it wasn’t the panel’s fault. Around 80% of those quick failures came down to small mistakes or overlooked details during the install or daily use. Not some factory defect. Real-world data from plants regularly hitting 90+ days of screen life, even with nasty, abrasive material, prove you can do better. Here’s how.
Dial In Your Vibration Settings
One of the quickest, no-cost wins is tweaking how your vibrating screen runs. Too many crews slap piano wire panels onto machines running the same way they did with thick, rigid rubber decks—long, aggressive strokes and high rpm. The result? Those thin wires deal with way more flexing than they can handle. It’s what builds up tiny cracks you can’t see, and then snaps wires out of nowhere before abrasion even has a chance. Cut the stroke down to 8–10mm, drop the speed to 900–950rpm, and aim for a deck angle between 22 and 25 degrees. You’ll still separate fines just as well, but you’ll also cut down wear and tear by about 40%. Most people who made this simple change saw panel life jump by over a third, with zero drop in performance.
Make Tensioning a No-Brainer
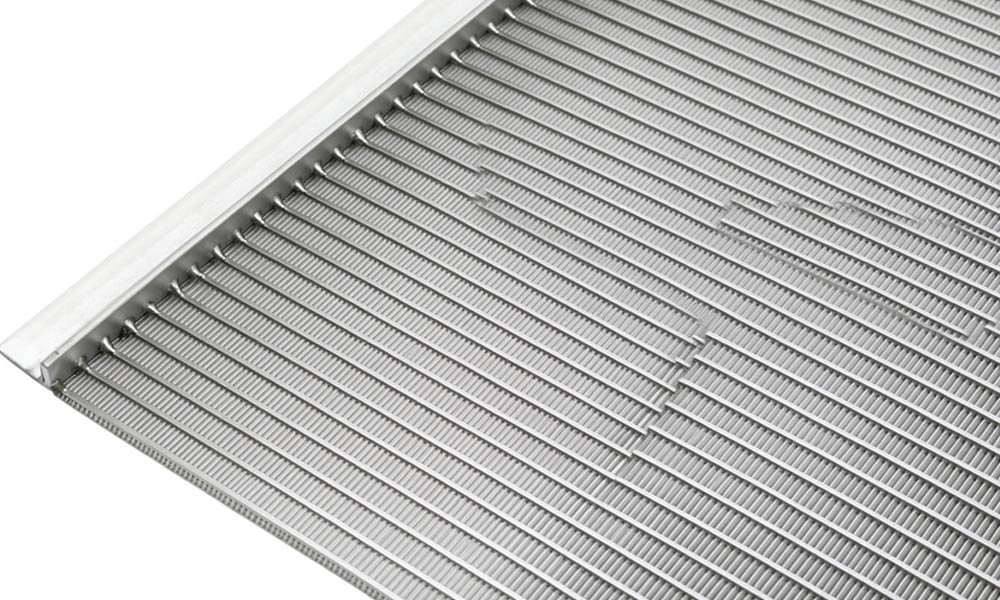
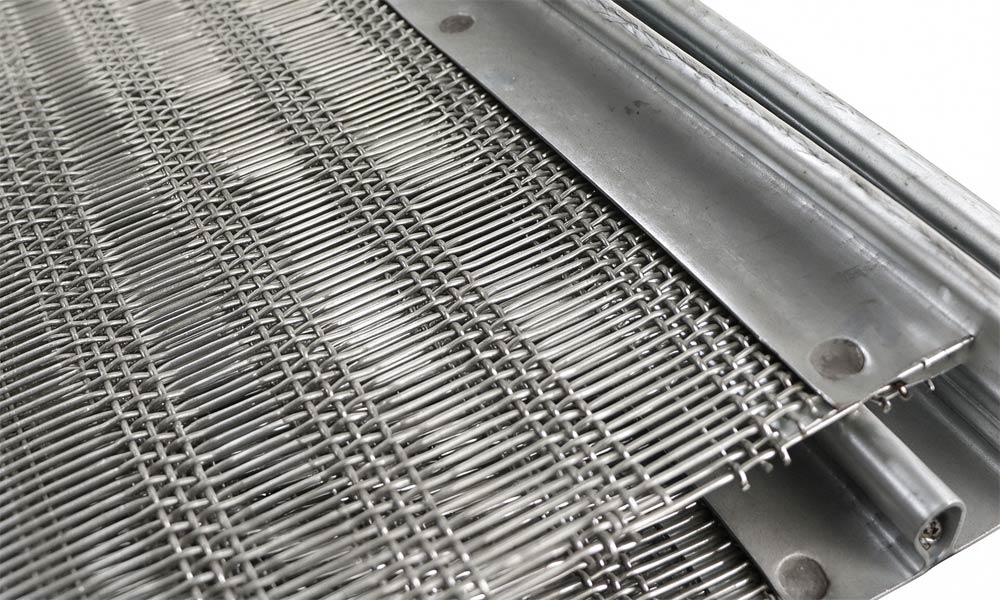
Next up: tensioning. This one gets skipped too often, or left up to guesswork. One guy cranks down the bolts, another barely tightens them. What happens? Some wires get stretched out—so they break from stress. Others hang loose, rubbing under the deck where you can’t even see, and wear out way too soon. Fix it by using a torque wrench and setting every bolt to the same, exact standard. Mark your deck so you know every section is getting even tension. Doesn’t need to be fancy, just consistent. Operations that got strict about this saw service life jump by another 30%. Even better, they stopped getting those weird, hidden under-panel wear patterns that wreck a whole screen for no good reason.
Protect the Feed End
Even a tough piano wire panel will lose the fight if you keep slamming tons of material onto the same starting strip hour after hour. Most of the damage happens right there, at the feed end—where big rocks, sharp debris, and heavy mud slam down over and over. The simple fix? Install high-manganese steel bars across that first 20 centimeters of the deck. These bars take the hits, break up muck, and spread the impact so the screen underneath isn’t taking one beating after another. Once sites put in these feed bars, the worn groove at the start of the panel pretty much disappeared. Instead of one section dying young, the whole screen wore out evenly.
Stick to a Quick Weekly Check-in
Last tip: don’t wait for trouble. Take 20 minutes each week to check wire thickness at a few marked spots on every panel (do this before you even install the panel, so you know the starting numbers). Get a caliper, measure, jot down the data. If a bolt’s come loose, put it back to spec. If you see odd wear somewhere, fix it before it becomes a crisis. Doing this every week makes it easy to see how fast your panels wear and tells you, honestly, when it’s time to swap out for new—no more ugly surprises. Teams that keep up with this routine squeeze out another 20% of life from each panel, with far fewer blowouts during a shift.
Adjust vibration parameters, standardize wire tension, add feed-end protection and perform weekly inspections. These four simple practices effectively prevent premature failure and extend the service life of piano wire screens, reducing unplanned downtime and consumable costs.