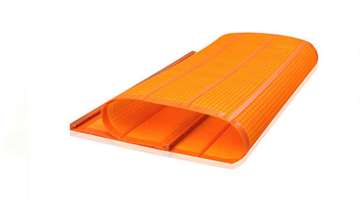
Step-by-Step Installation Guide on Polyurethane Dewatering Screen Panels
If you’ve ever installed a full set of brand new polyurethane dewatering screen panels, only to find that the feed zone panels are completely worn through in 2 weeks while the discharge end panels still look almost brand new, or that random panels are popping loose mid-shift and tearing adjacent units apart, you know exactly how much bad installation technique can completely waste the long service life that these panels are designed to deliver. After years spent working side-by-side with maintenance crews in mineral concentrators, coal washing plants, and industrial sand sites, we’ve realized something surprising: about 80% of those annoying uneven deck wear problems don’t actually come from poor panel quality. They come from small, preventable mistakes during installation. That’s why we put this guide together—it shows you, step by step, exactly how pros in the field install panels to avoid uneven wear for good. No fancy gear or specialty tools needed. Just the straightforward tricks that experienced teams have picked up during years of doing this job right.
Pre-Installation Rail Surface Prep to Remove Hidden High Spots
Let’s talk about prepping your rail surfaces before installing new Polyurethane Dewatering Screen Panels. This is the moment where most folks trip up, and it makes all the difference. The trick is to get the support rails absolutely clean and flat before dropping in a single panel. Most teams barely bother—they just brush off some loose dust and fit the new panels, ignoring any caked-on grime, rust spots, or welding burrs left behind. But those little high spots underneath? They’ll create uneven pressure points that make your panel flex and vibrate with every load, and within a couple of weeks, you’ll see a groove worn straight through the PU right at that spot. Here’s how you do it right. Get yourself a flat metal scraper and an angle grinder with a flap disc. Scrape away all that stubborn sediment, rust, and any burrs until the surface is smooth. Once that’s done, run a straight edge across every rail. Check that everything’s level—don’t skip this! Then wipe the rails down with a bit of diluted dish soap. That last step helps break any static bond, so tiny particles don’t stick around to cause trouble when you install the panels.Multiple coal washing plant maintenance leads shared that this simple prep step alone doubled the average service life of their panels.
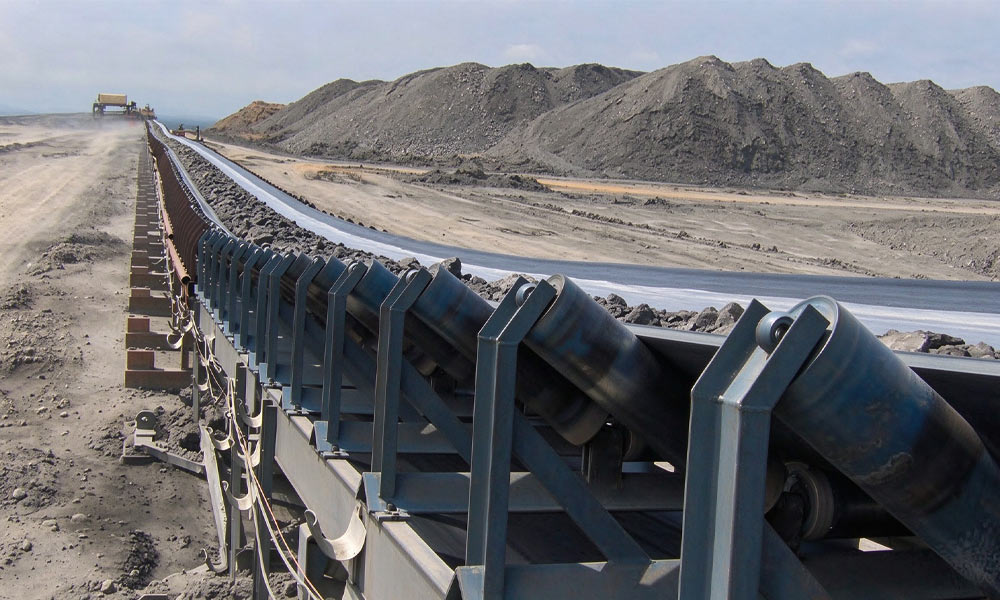
Center-Out Sequential Placement to Avoid Forced Stress Points
The second step that eliminates uneven tension and twisted panel alignment is placing your Polyurethane Dewatering Screen Panels in a strict center-out sequential order, instead of starting from one side rail and working your way across to the other. If you start installing panels from one edge of the deck, the last panel you place will be forced into a too-tight gap that you have to hammer down to lock into place, creating hidden internal stress in the PU material that makes it crack and wear unevenly under high-frequency vibration. The correct workflow starts at the exact geometric center of the deck, locks that first panel fully into place, then alternates placing one panel on the left and one on the right, working your way evenly outward toward both side rails, leaving a 1mm small uniform expansion gap between every panel edge to account for PU thermal expansion when the deck warms up during continuous operation. Multiple iron ore concentrator senior technicians shared that this center-out installation sequence completely eliminated the random premature panel cracking that they had been dealing with for years.
Torque Locking Clips in 2 Passes to Ensure Uniform Surface Pressure
The third step that prevents panels from lifting at corners and creating uneven wear edges is tightening all the retention clips holding your Polyurethane Dewatering Screen Panels down in two separate slow torque passes, instead of cranking every bolt down as tight as possible in one single pass. If you tighten every clip to full maximum torque in one go, you will over-tighten the first clips you install and under-tighten the last ones, creating uneven clamping pressure that makes some panels sit loose and rattle while others are crushed tight against the rail. The correct process first runs a light 3Nm torque on every single clip across the full deck, to make sure every panel sits perfectly flat and flush against the rail surface with no edges lifted, then runs a second full pass torquing every clip up to the manufacturer’s specified 6Nm value, double checking every single fastener to make sure no clip is over-tightened or under-tightened. Multiple industrial garnet processing sites shared that this two-pass torque method stopped the panel edge lifting that used to create deep scouring grooves across the deck surface.

Post-Installation 1-Hour Low-Speed Run-In to Seat All Panels Fully
The final step that evens out any remaining minor misalignment before you feed full slurry onto the deck is running your screen at 50% normal vibration speed for a full 1-hour no-load run-in period after you finish installing all your Polyurethane Dewatering Screen Panels, before opening the full feed valve. If you dump full high-volume slurry onto a brand new deck immediately after installation, the heavy material flow will push any slightly misaligned panel sideways, creating a gap that fine slurry can pour through and erode a deep uneven wear channel across the deck. The low-speed no-load run-in lets every panel settle fully into its locked position, lets you walk around the deck one last time to check for any shifted panels or loose clips, and confirms the whole deck is running completely flat and stable before you introduce any material flow. Multiple fine silica sand production sites shared that this short run-in period eliminated the uneven feed zone channeling that used to wear out their panels 3 times faster than expected.
When you follow this full step-by-step installation workflow properly, you will eliminate almost all the common avoidable causes of uneven deck wear, making every single panel across the full deck wear at the exact same slow consistent rate, so you can get the full 3-4 month designed service life out of every panel, instead of replacing half the deck early while the rest of the panels are still almost brand new.